Shooting in low-light is a challenge for all photographers. Late afternoons, rainy days, evenings or winter days are just a few situations when natural light is low. You could invest in artificial lights or flashes to deal with all this problems, but not all of us have money to spend on lighting studios. I have a small studio but takes time to install it and also, I have a little one that likes playing around so I will not get any photos.
I love using natural light so I learned how to adjust my camera in low light. Today I will tell you some tips to improve your photos.
To have a sharp image use a tripod. If you don’t have one try and put your camera on a chair or a table. Improvise. If you are shooting hand held, keep your elbows in and close to your body for more stability and rest the camera or your arms on the back of chair.
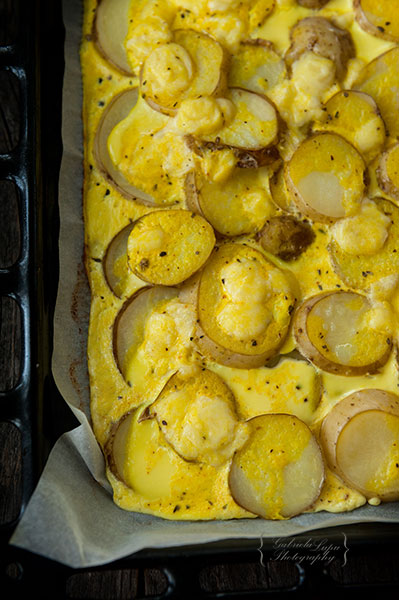
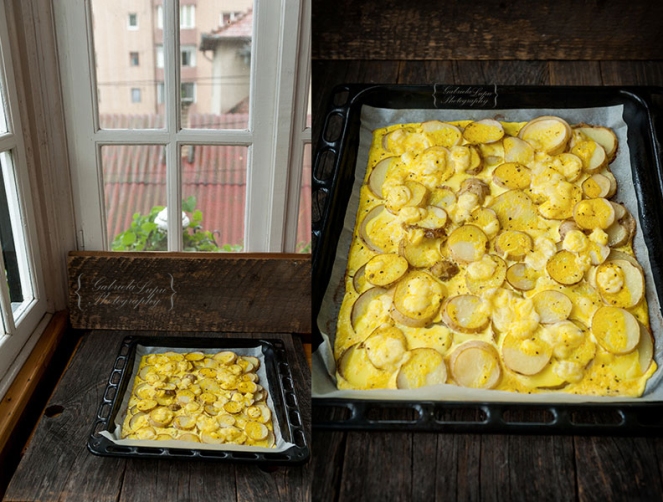
I always have my ISO as low as possible to prevent too much noise, but when needed I will push it a little bit. In this images I took the photos without the tripod, after 18:00 pm on a rainy day. Light was really bad and I had just a few minutes to shoot. Many of you asked me about shooting in low light, so I created this situations to show you what to do.
In this situations I used ISO 500 (usually is 100 or 200) because I didn’t use the tripod and I wanted to hade sharp photos. Using your tripod means you can keep your ISO 100 or 200 and change the speed. My shutter speed was 1/125 so I wouldn’t cause “motion blur”. With a tripod you can have a slow shutter speed allowing more light to be exposed to the camera’s sensor.
In low-light situation, always choose the highest ISO your camera allows.
In photography, aperture refers to the size of the hole in the lens that lets light in when you hit the shutter. Lenses with large maximum aperture are often referred to as “fast lenses.”
If you have a few lenses use the fast one for shooting in low light. Use your camera in manual mode if you can. You will have control of the settings and it will help you.
Sometimes, when you shoot in low light conditions your lens can’t focus automatically on the subject. In this situation, you need to switch the lens focusing to manual and adjust the focus ring manually to set the focus on the desired spot.
A big help can be bounce boards or reflectors. You can use them to bounce back any light that is available from your light source back onto your subject. Place them on the opposite side of your subject from when the light is coming from.
Settings for my photos are:
ISO 500
Aperture f/4.5
Shutter speed 1/125
WB cloudy
More information about WB you can find here: White balance in food photography


Thanks for the tips! Your blog is always inspirational to me 🙂
You are welcome
😊
This is great info! Thanks a lot! If anyone gets real good with low-light, try this photography contest: https://facebookphotographycontest.wordpress.com/
You are welcome
I’ve been looking for help with this, thank you!
You are welcome
I never what I could do whit Iso. Really good to know it now. Thanks 😓👍
You are welcome
very good post
Thank you
You’ve got a beautiful blog! Thank you for sharing these photography tips, they are definitely helpful. I end up shooting indoors all the time so my problem is how warm the images look under fluorescent light.
Thank you
Wow. Look so delicious.
Thank you
[…] via Tips for shooting humble low-cal food photography — preparation without Limits […]
Thank you
Great tips!
Thank you
This is really helpful! Thank you 😀
You are welcome
Reblogged this on WILDsound Writing and Film Festival Review.
I thought taking food photos is just click and shoot. Thanks for the tip.
You are welcome
Yes, i thought so too…was using my iphone 🙂
Good post! I have been trying to take pics during the mornings and afternoons that time of the day when my pics come out great. Natural light gives more depth to my food pics. I guess I will have to invest in a tripod that could serve me well 🙂
Thank you
Beautiful blog
Thank you
Love this piece….Another thing as well us as the F goes up, and shutter speed comes down your bokeh can disappear.
True
Thanks for the tips! I am always looking to improve my photography for my food blog!
You are welcome
I’m just starting a blog and your tips are very helpful. I’m using old photos at the moment, but hoping to learn as much as I can when I can get to the new stuff!
Happy to help
Reblogged this on ram0ram note book.
I liked your tips, thank you
Great tips. Thanks for sharing
You are welcome
These are very useful tips – may I share this article on my blog, http://www.commaand.co? Some of my followers run food blogs, and this would be interesting for them.
Thank you. Of course.
Thank you for your generosity!
You are welcome
Thank you
Im still learning. Thank you for the tips.
You are welcome
These are helpful tips! Thank you.🙏
You are welcome
I am obsessed with food photography and would love to do that for a living. Right now I just shoot for fun on the things I cook!
Good luck!
Thank you
Thanks for the great tips! I am just getting started with a little bit of food photography for my new blog and need all the information I can get. 😀
You are welcome
Good tips! Still helpful months later 🙂
Thank you